
Trim Painting in Alpharetta: Preserving Detail on Previously Painted Molding
A practical guide to preserving molding detail when existing paint has softened grooves, rounded edges, or left visible ridges.
Start With the Detail You Want to Preserve
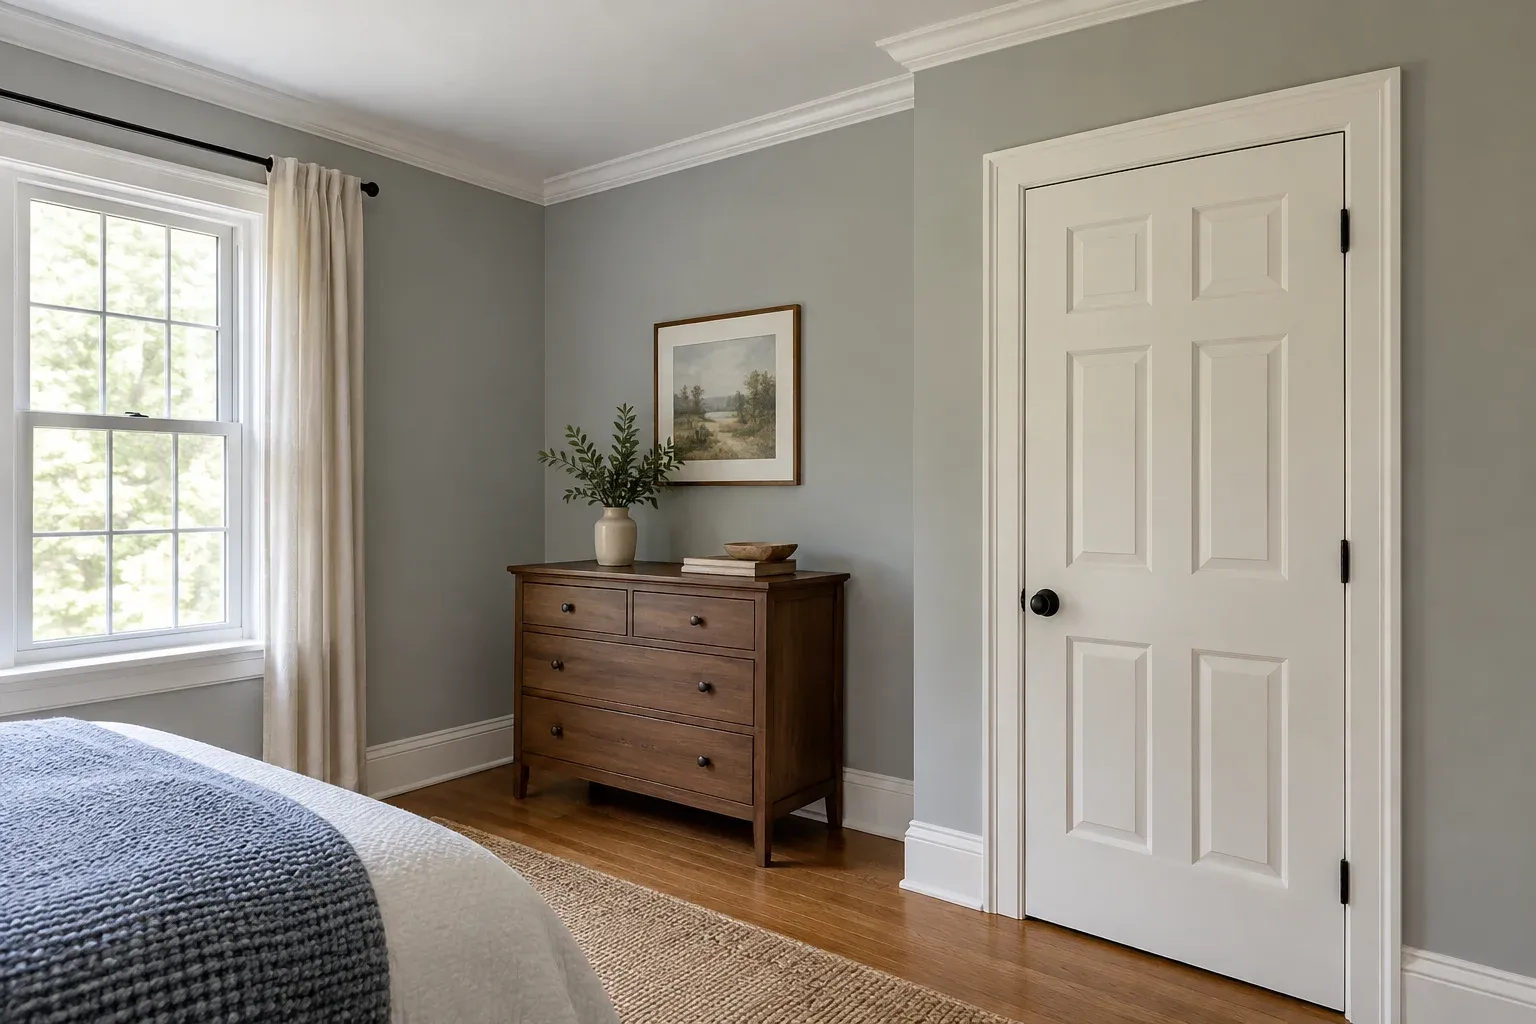
Trim painting in Alpharetta needs a different starting point when older coatings have softened the detail in crown molding, door casing, or baseboards. The concern is not simply whether fresh paint will cover. It is whether the finished surface will still show the small curves, steps, and grooves that give the molding its character. For homeowners planning a lasting improvement, identifying what is already obscured matters more than choosing another coat and hoping the detail returns.
A useful Trim painting plan separates a smoother coating from a sharper underlying profile. Those goals can overlap, but they are not interchangeable. New paint may improve uniformity while leaving an old ridge visible or a narrow groove partly closed. Before agreeing to a finish standard, identify the details worth preserving and ask what improvement is realistic within the proposed preparation scope. A service description alone does not establish how any particular molding will be treated.
Separate Coating Texture From Molding Shape
Surface texture is the small-scale roughness sitting on the trim: brush marks, stipple, dried drips, or uneven coating edges. Profile is the molding’s actual shape, including its raised beads, recessed channels, and curved transitions. A broad flat face can become smoother without making an adjacent groove deeper. Conversely, a clearly defined profile can still carry visible brush texture. Describing each condition separately helps prevent a general promise of a smooth finish from becoming an expectation of fully restored detail.
Look along several lengths of the same molding rather than judging one isolated spot. Rounded edges may reflect accumulated coating, the original profile, or both; appearance alone may not establish the cause. The planning principle behind matching existing profiles is useful here: compare shape as well as surface appearance. For this project, the relevant comparison is between similar pieces of interior molding, especially where a crisp section can show which details have become less distinct elsewhere.
Understand Why More Paint Cannot Recover Lost Definition
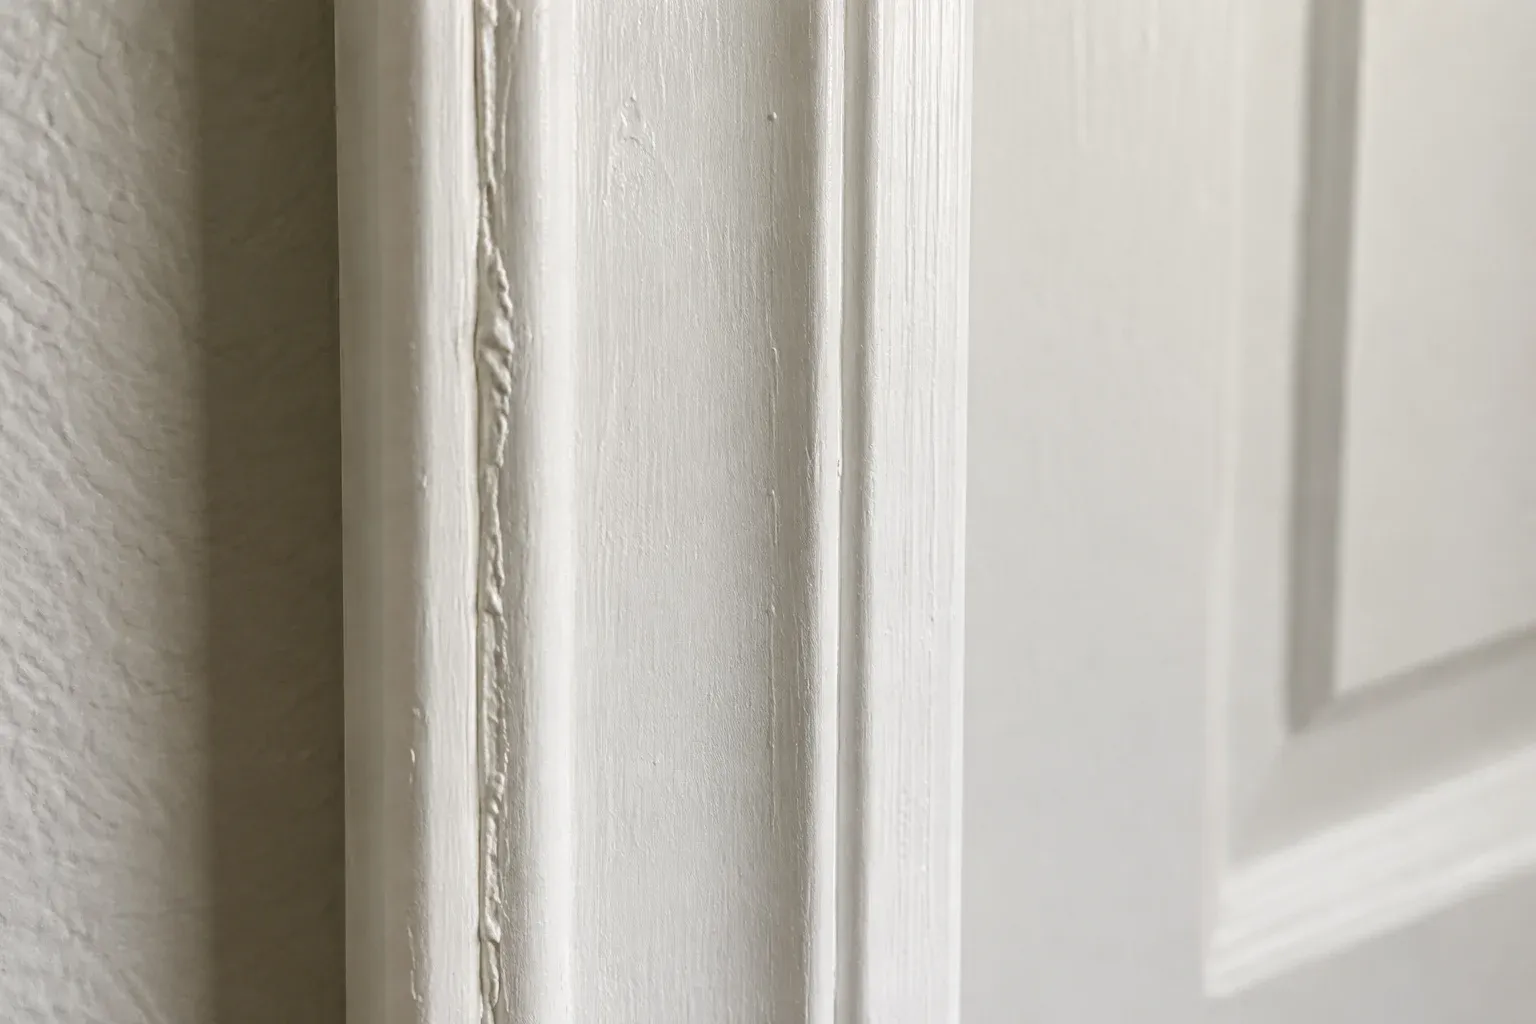
Another coat adds material; it does not subtract the hardened material already occupying a recess. Where old paint bridges a narrow groove, coating over it generally follows that bridge rather than reopening the channel. A ridge along a decorative edge can likewise remain apparent beneath a more uniform finish. This is why a coverage-focused repaint and a detail-preservation project may produce different results even when both use a suitable trim enamel applied according to its instructions.
Flow and leveling describe how freshly applied paint settles, not its ability to erase old geometry. Sherwin-Williams identifies brush and roller marks as a failure to dry into a smooth film and lists several possible causes, including overworking partially dried paint and applying too thin a film. Its guidance on brush and roller marks emphasizes product directions for tools, film thickness, and conditions. The practical lesson is controlled application, not making every coat as thin as possible.
Define the Preparation Goal Without Promising Restoration
Build the scope around observable features. Identify which grooves should remain visibly open, which ridges need attention, and where existing softness may remain. Distinguish a decorative recess within the molding from a joint between separate surfaces; treating both as gaps to conceal can sacrifice intentional detail. Ask for the expected result in plain language, supported by photographs or a representative area, rather than relying on phrases such as premium finish that leave the actual appearance undefined.
Some uncertainty belongs in the discussion before work starts. Planning for conditions you cannot yet see is a useful reminder not to promise an underlying surface based only on its coating. Here, that means acknowledging that the original profile and previous preparation may be difficult to judge through accumulated paint. Ask how unexpected limitations would be communicated and how any change in the intended finish would be agreed upon. This is a planning question, not a reason to begin exploratory paint removal yourself.

Use Product Guidance to Set Realistic Expectations
Manufacturer instructions provide useful boundaries for finish expectations. Benjamin Moore’s ADVANCE W793 technical data sheet describes flow and leveling properties while requiring clean, dry, properly prepared surfaces and specifying a recommended coating thickness. Those requirements work together: leveling is not a substitute for suitable preparation, and extra material is not a substitute for correcting an existing defect. Product selection should account for the substrate and existing coating rather than assuming every previously painted molding accepts the same system.
Timing also affects evaluation. The same data sheet explains that hardness and adhesion develop over time and that cooler temperatures or higher humidity prolong drying, recoating, and curing. A surface that feels dry is therefore not necessarily ready for normal handling or final judgment. Ask which product instructions govern the actual project and when the sample should be reviewed. Do not transfer one enamel’s drying schedule to another product or treat a stated recoat interval as full cure.
Judge a Representative Area Under Useful Lighting
A representative trial area can make the finish discussion concrete. Choose a section containing both a flat face and a decorative transition, not only the easiest straight run. The principle of evaluating a sample finish applies: agree on what the sample needs to demonstrate before judging it. For molding, that includes visible grooves, the transition around raised edges, remaining texture, and consistency with adjoining lengths. A sample should establish an achievable standard, not imply that every existing imperfection will disappear.
Review that area from normal room positions and under the lighting the trim actually receives. Side lighting can reveal ridges that overhead light hides, while an extreme close-up can exaggerate marks rarely noticed in use. Agree on both perspectives. Before any old coating is disturbed, establish whether lead precautions are relevant. EPA’s consumer guidance recommends a lead-safe certified contractor for renovation work in pre-1978 homes; paint disturbance can generate hazardous dust. This article does not provide paint-removal instructions.
Make Visible Detail the Measure of Success
The strongest plan connects three things: the condition visible today, the preparation goal, and the finish standard used for review. Keep photographs of representative details and note where some softness is expected to remain. For trim painting in Alpharetta, success need not mean making older molding look newly manufactured. It means understanding what fresh paint can improve, protecting the detail that remains, and agreeing on a credible result before another layer changes the surface.
Frequently asked questions
Will self-leveling trim paint reopen grooves filled by older paint?
No. Leveling describes how a freshly applied coating settles. It does not remove hardened paint, reopen bridged grooves, or restore the molding’s original shape.
Should every decorative groove look equally sharp after repainting?
Not necessarily. Existing buildup and the underlying molding can vary. Agree on a representative sample and identify which details can remain visible rather than assuming every section will look new.
What should homeowners consider before old trim paint is disturbed?
Establish the home’s age and discuss coating hazards before work begins. For pre-1978 homes, EPA recommends hiring a lead-safe certified contractor for renovation, repair, and painting work that may disturb lead-based paint.